What is the Maximum Time on the Cricut Easy Press Timer
This post may contain Amazon Associate and other partner affiliate links. As an Amazon affiliate, I earn a small commission from these links at no additional cost to you.
Curious about what makes the Cricut EasyPress™ 2 so easy? Want to know the best features, where to buy it, how to use it and why you need it? Keep reading! I am sharing everything you need to know!
This post is sponsored by Cricut. All opinions are my own.

What is the Cricut EasyPress 2?
The Cricut EasyPress 2 is a portable heat press that is used to evenly apply iron-on materials with professional results in less than 60 seconds from the comfort of your home.
The EasyPress 2 features rival a professional press however the different surface sizes and portability perks make this tool a crafter's dream!

What are the features of the Cricut EasyPress 2?
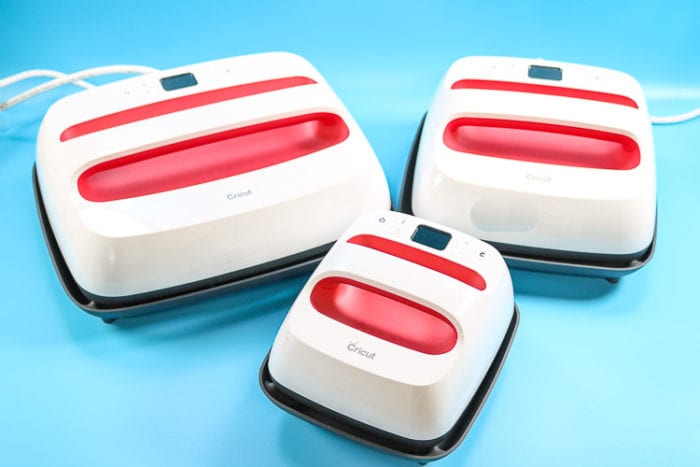
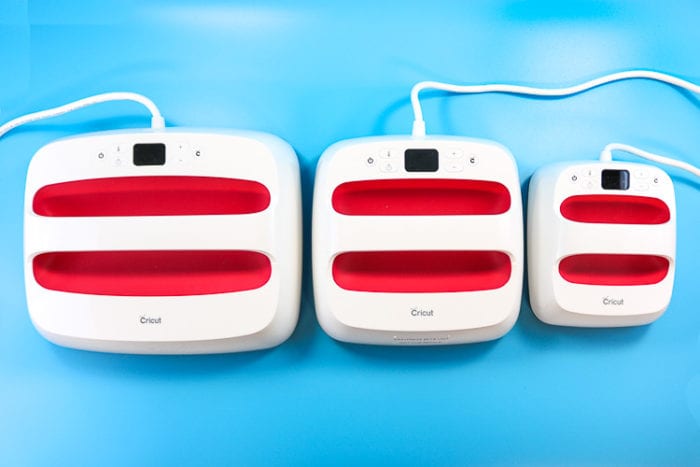
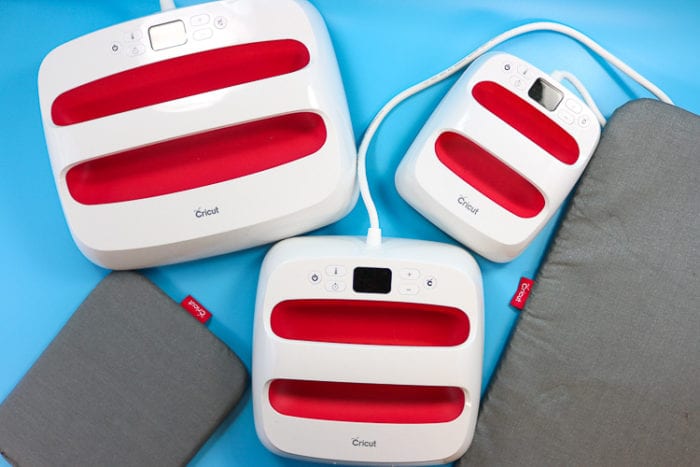
- Three different sizes for all your crafting needs (read below to find out which is right for you!) 6 x 7, 9 x 9, and 12 x 10 inch.
- Even temperature distribution across the heating plate
- Reaches up to 400F
- Exact temperature controls and timers for flawless applications
- USB port to receive updates to firmware!
- Portable Handheld Design to save on space, help with unique applications as well as easy to travel with.
- Safety base to protect yourself and your surface
How does the EasyPress compare to an Iron?
I have talked about this before in my how to correctly apply iron-on post but I think it's good to share again.
You certainly can apply iron on with a household iron. Here are some reasons that it is easier to do with an EasyPress:
- EasyPress has a flat solid heating surface. Iron has holes in the surface for steam. You have to go back and repress the places the holes are as they will not adhere your iron on to your blank.
- Square/Rectangle heating surface design of the EasyPress 2 covers a larger area so you may apply in one press or pick up where you left off easier than the geometrical design of an iron shape.
- Because the iron's surface is not even you also do not get an even temperature on the plate. This could result in parts of your design not adhering.
Bottom line: If you are starting out and only have an iron you can certainly use an iron. The EasyPress will just make your life so much easier <–see what I did there!?
How does an EasyPress compare to a Heat Press?
The EasyPress and a Heat Press both offer professional results in your iron-on applications. Some areas where I feel the EasyPress wins are these:
- Size. The EasyPress 2 (all three sizes) are smaller in size, lighter and more portable than a standard table top heat press They take up less space in your craft room, can be moved around easily and taken with you on the go.
- The three different sizes of the EasyPress allow you to customize more materials and surfaces. A standard heat press is normally 15 x 15 and that can be too large for smaller projects.
- The handheld design of the Easypress allows you to apply iron on to more than fabric. You can apply to hats, benches, wood slices, tiles and more. Things that will not fit in a standard heat press.
Bottom line: These both perform professionally it's just a matter of size and space available and if you are a sedimentary crafter or like to travel to crafty events!
You can find an in-depth comparison here.

How do I know which EasyPress Size is right for me?
That is a great question! Before we get to that let's talk about why there are three different sizes, to begin with!
- A heat plate that is too big is awkward on small projects and risks uneven pressing over seams.
- A heat plate that is too small may need multiple presses over the same spot and risks over-processing iron-on material.
"Which is best for me" will definitely be different person to person but here are some things to ask yourself so you can narrow it down! (or not, I have all three and I LOVE THEM ALL)
As mentioned above there are three sizes of the EasyPress 2. A 6 x 7 inch, 9 x 9 inch, and 12 x 10 inch.
When deciding which size is best for you to ask yourself these questions:
- What do I make most often? Onesies? Adult Shirts, Table Runners, Tote bags?
- Do I think I will travel with my EasyPress 2?
- Where do I plan to store it? How large is my crafting area?
6″ x 7″ EasyPress 2:
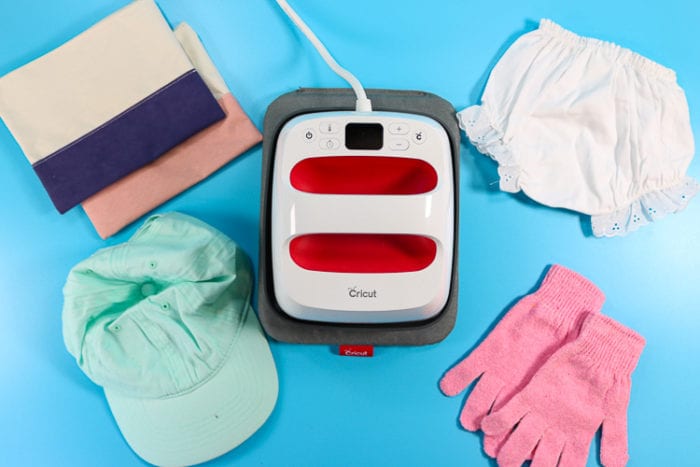
This size is the smallest of the family but still packs a punch! This size is perfect for Onesies, pencil and cosmetic bags, hats, trivets, napkins, socks, mitten/gloves, small sewing projects
9″ x 9″ EasyPress 2:

This medium size is the same size as the original EasyPress. It's great for tote bags, children's clothing, banners, pillows, aprons, and towels!

12″ x 10″ EasyPress 2:

As the largest of the family, this size is great for table runners, curtains, adult t-shirts and sweatshirts, pants and blankets!

Do I have to use the EasyPress Mat?
I get these 2 questions all the time. 1. Do I have to use the EasyPress Mat and 2. does it come with the EasyPress 2? The answer is no for both of those questions.
You do not have to use the EasyPress mat, you can certainly use a folded towel under your blank when pressing using the EasyPress 2. Here are some reasons you might want to give the mat a chance:
- The mats not only protect your surface from the heat of the EasyPress but they also are designed to eliminate moisture out of your blank and direct the heat to the iron on design. My bath towel sure doesn't do that!
- Available in three convenient sizes that perfectly correspond to the three sizes of the EasyPress 2:
- 8" x 10"
- 12" x 12"
- 20" x 16"
P.S. I use my EaspPress 2 and mat as my regular iron. The small one? AMAZING For quick touch-ups! (also perfect for pressing sewing projects!)
How to use the EasyPress 2
EasyPress 2 is, well, easy to use! <–see I did it again!
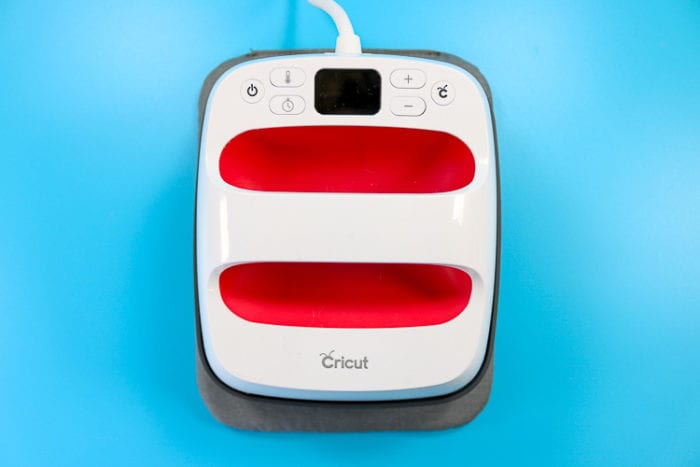
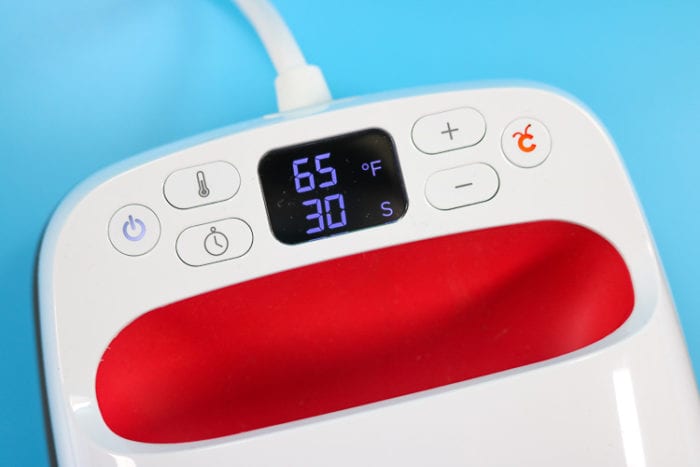
How to adjust the Temperature on the EasyPress 2:
Adjust the temperature by pressing the temperature button and then use the + and – buttons to adjust your temperature for your project.
See I told you it was easy! The EasyPress2 will beep and the Cricut C will turn green when it reaches your specified temperature letting you know it's ready to go!

How to adjust the Timer on the EasyPress 2:
Adjust the timer setting by pressing the timer button and then use the up and down arrows to adjust the timer.
Again, easy right?
TIP: The EasyPress 2 will store the last time and temperature you used and start there the next time you turn it on!
How do I know what time and temperature to use?
That's easy also! Refer to this interactive recommended time and temperature chart! I bookmark that page because Cricut is always updating it and adding different bases and products all the time!

It, of course, is easy to use. (OK, OK I will stop!) Simply select the iron-on type you are working with, then select the blank material you are working with, choose if you are using the mat or not and then follow the instructions on the right!
How hard do I have to press when using the EasyPress2?
When your EasyPress has come to temperature it will beep letting you know it's ready to go. Follow the directions on the recommended settings chart above and pre-heat if needed. Apply your design where you would like it and then place the EasyPress 2 on top and press the Cricut C button to begin the timer.
The interactive settings chart will advise but mostly it's gentle pressure. You don't need to get your whole body into it but some pressure from your arms and shoulders will work just fine. You want to make sure your iron on material gets good contact with your surface you are ironing onto.

When the timer runs out, it will beep again and you can replace the EasyPress back on its base and again, the recommended settings page will advise you if you need to warm or cool peel the carrier sheet of your iron on.
Where can I buy an EasyPress 2?
You can purchase the EasyPress 2:
- Cricut's Website (check out my deals page for any specials!)
- Amazon
- JOANN fabric & Craft Stores
- Michael's Craft Stores
TIP: Most of the craft stores, allow you to order online and pick up in store for free!
Need some inspiration on things to make with your EasyPress 2? Check out these helpful tutorials and projects! As always you can find all my Cricut tutorials for Iron on and More here!
- Iron on 101
- How to Cut Iron on with a Cricut (all machines)
- Tips for the Best Iron on Application
This is a sponsored conversation written by me on behalf of Cricut. The opinions and text are all mine.
Source: https://www.thatswhatchesaid.net/cricut-easypress-2/
Post a Comment for "What is the Maximum Time on the Cricut Easy Press Timer"